My experience tackling Phases 1 and 2 of the 75 Hard Challenge! I cover what the 75 Hard Phases involve, why I decided to do them, how they compared to 75 Hard, and some final takeaways and advice. One of the best things I did …
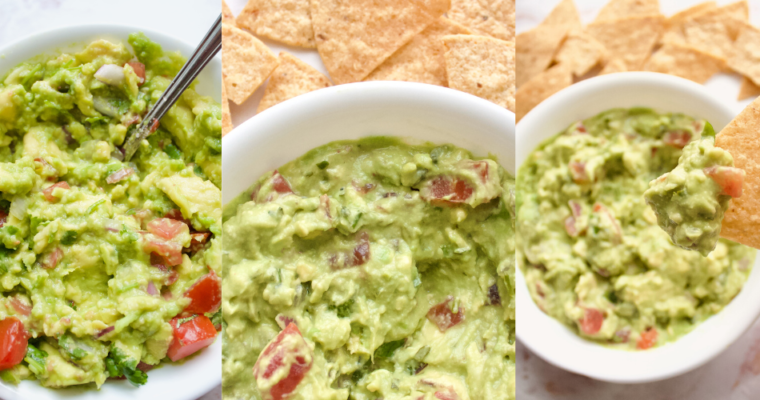
How I make super simple homemade vegan guacamole, using just 6 ingredients (or less!) – including the answers to some common questions about guac. Is guacamole vegan? Most of the time, guacamole is absolutely vegan! It’s always a good idea to check if you’re ordering …
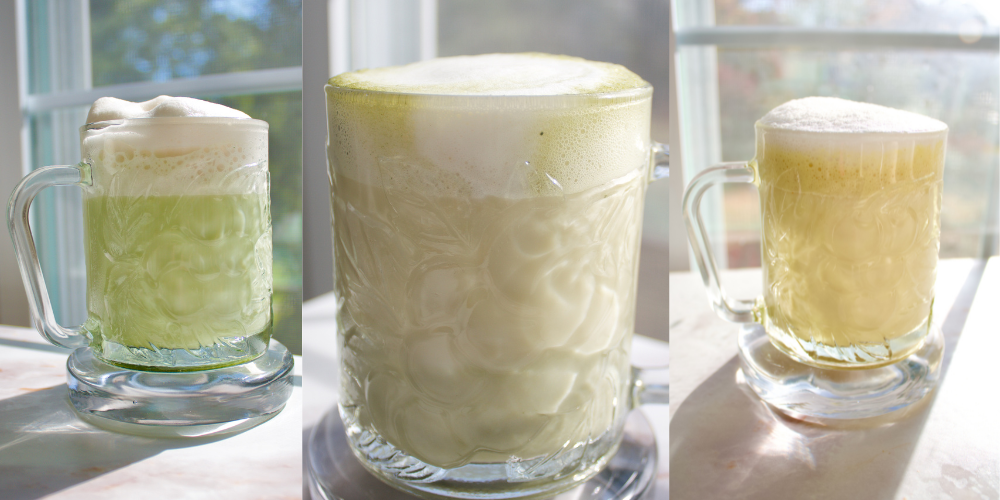
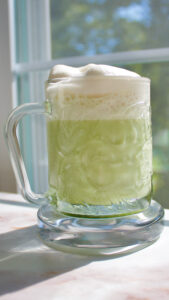
My super easy homemade vegan latte recipe, with two variations, to make a vibrant and frothy mug that’s affordable, healthy, and delicious.
*Some of the links on bitesbybekah.com are affiliate links from which I receive a small commission from sales. As an Amazon Associate, I earn from qualifying purchases. Thank you for your support!
Mornings that include a latte, complete with foamy frothed milk on top, are just better. You can’t convince me otherwise. And if that wasn’t enough, there are some extra bonuses. Making your own latte at home is SO much cheaper (what’s the price of a Starbucks latte now?), plus it can be a lot healthier, and tastes just as delicious.
The lattes I make are packed with protein, topped with frothy milk, and brighten my morning every single time. All you need are two ingredients for the base (three if you count water), and any optional extras you fancy to customize your latte to your liking.
Latte Frothers
First, let’s talk frothers. Frothers really are a game changer, and can give your lattes an extra boost of luxury and enjoyment. It’s a bit of an investment, but so worth it, and they can last for ages.
I’ve been using handheld frothers for ages, and love how small and portable they are (enough to even pack with you on vacation, spoken from experience!). I also have an electric frother, which honestly does make a real difference. My handheld frother gives me a bit of a froth, but my electric frother gives me inches of fluffy white frothiness (depending on the plant milk I’m frothing).
This is the Electric Milk Frother I’ve used and loved for years, and this is a brand of Handheld Frother that I also have used for years and really like.
The Easiest Protein Vegan Latte Recipes
Protein Latte
Protein Lattes are my basic, go-to latte. Since getting braces, it’s also been the latte I’m having on the daily. Matcha and turmeric powders can be a bit staining and I’m afraid for my clear braces (lol). I’m sure I’ll get back to them at some point though, as matcha and turmeric have amazing additional health benefits that come with their vibrant colours.
Boil the kettle; if using an electric frother, also add your milk and start the frother
While the kettle is boiling (and milk frothing), add your protein powder (and any extras) to a mug. Then add enough boiling water to cover the protein powder.
Using your frother, mix up the protein powder with the boiling water; If you're using a handheld frother, you can add milk at this point and froth everything until completely mixed and frothy.
If using an electric frother, add the frothed milk to the latte. Then enjoy!
Matcha Vegan Latte
Matcha is for more than just Mondays. But I will say Mondays are particularly good days for it. The caffeine can help give that extra boost of energy to kickstart your week. Just add 1 teaspoon of matcha to your mug along with the protein powder in the above base recipe.
Turmeric Vegan Latte
Turmeric is so so good for you, and it’s so so easy to add to your latte! Just add 1/4 teaspoon to your mug along with the protein powder in the above base recipe. For extra goodness, you can sneak in a bit of black pepper to help increase the absorption of turmeric. And that bright yellow really brightens up any morning!
A Few Final Notes
Your protein powder and plant milk really make a difference to your lattes taste and froth. I like to use 1/2 scoop of flavored protein powder (Nuzest and Orgain are my go-tos), and 1/2 scoop of Complement’s Protein (which is unflavored – code BITESBYBEKAH10 gives you 10% all Complement products).
For me, mixing flavoured with unflavoured protein gives me the perfect balance of sweetness. But play around with what works best for you. Feel free to add any other sweeteners (maple syrup, etc.) and spices (cinnamon, ginger, etc), to add extra goodness to your morning mug!
For milk, I personally love Oat milk and Almond milk. Let me know if you want a full review of Plant Milks and which ones are best for lattes!
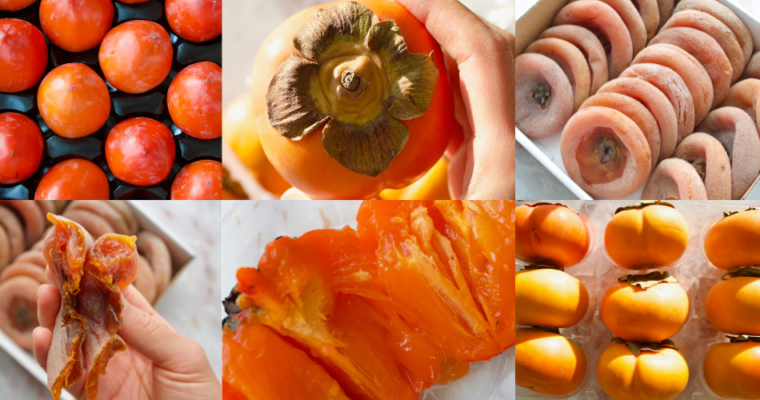
My guide to picking persimmons, including answers to common questions and how to pick and eat the perfect one for you! Persimmons are possibly my favorite fruit – and that’s saying a lot! When they’re in season, there’s really nothing better than enjoying one in …
My top vegan dinner staple meals that are simple, time-efficient, budget-friendly, and mouthwateringly good! Part of my Veganuary Series. QUICK AND SPEEDY: Miso Soup Miso soup is my vegan version of chicken noodle soup. I always make it when I’m feeling a bit under …
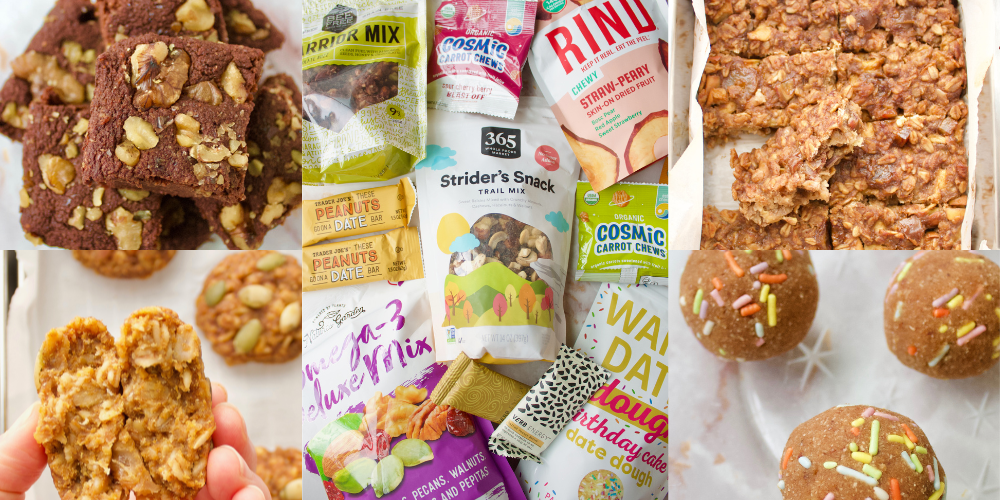
My top vegan snacks and sweets, including homemade recipes and store-bought recommendations – all healthy and yum! Part of my Veganuary Series.
*This post contains some affiliate links. If you purchase something through an affiliate link, I receive a very small commission. There is no additional cost to you and it really helps to support me!
Healthy Snack Ideas:
Fruit
Fruit is my number one go-to snack. It’s sweet, full of fibre (so filling!), and satisfies almost any craving I get.
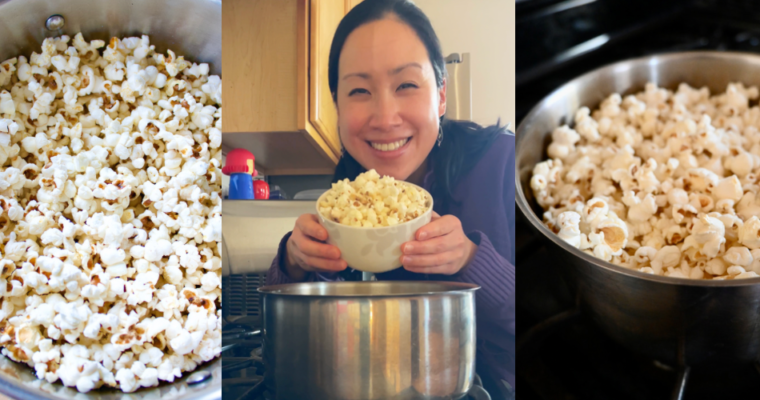
Popcorn is another go-to, and if you make your own it can be so healthy, light and filling! Here’s my guide to making your own Healthy Homemade Popcornand afun recipe reelif you want to see it in action!
Other Snacks
Hummus – with veggies and/or crackers, tortillas, etc.
Rice cakes – with peanut butter and bananas slices, or hummus and greens
Trail mix– buy pre-made mixes, or easily make your own using nuts, seeds, and dried fruit (add dark chocolate for extra sweetness).
Nuts and seeds
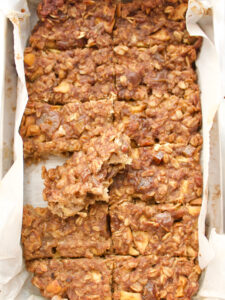
Protein and Snack Bars:
I always have a snack/protein bar in my bag. It’s a lifesaver when you’re out for longer than expected, and/or if you just want a quick pick-me-up anytime, anywhere! Here are my faves.
US:
Verb Energy– Bars made with Green Tea; try a Starter Pack for $12 (52% off!)
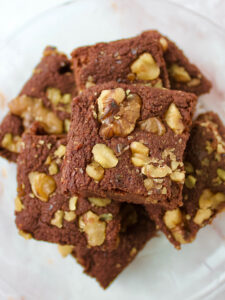
What’s a day without dessert? I have a sweet treat pretty much daily. Just because you want to eat healthy, or you’re trying to lose weight, doesn’t mean you can’t treat yourself! Here are some of my go-to sweet bakes.
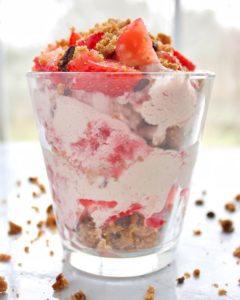
Nice cream – Blend together 3-4 frozen bananas (the browner, the sweeter) in a food processor (use a dash of plant mylk if you need some liquid to get the blending going), until it’s reached an ice cream consistency. Add in frozen fruit (blueberries, strawberries, mango, etc.) to create different flavours.
Lazy ‘nice cream’ – Skip the blending and just eat a frozen banana! I like to take a couple slices of frozen banana out of the freezer about 10mins before eating to defrost (or before eating dinner and leave it in the fridge); top with whatever you fancy (bars, granola, nuts, dried fruit, etc). Dig in and enjoy!
How I make healthy homemade popcorn – including my top tips and how to avoid burnt popcorn. It’s really not as hard as you might think! It’s Friday night, and you’re sitting down after a long busy week to relax with a movie and…what? What …
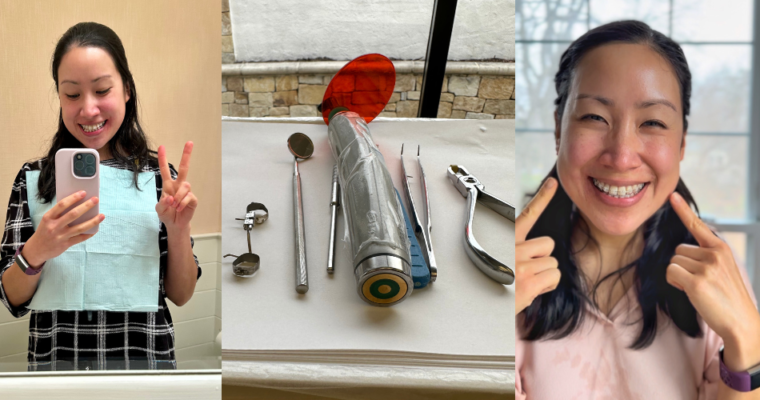
Sharing my experience getting braces as an adult, including my history with braces, why I got braces, how it’s been going and what I’ve been eating. Week one down! It all started on Nov 16th, 2022 at Heathrow Airport. Well, I think it did. But …
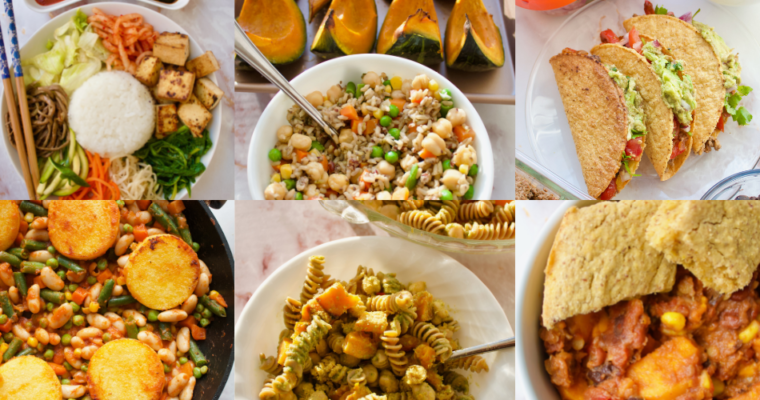
My top 10 vegan lunch staple meals that are simple, time-efficient, budget-friendly, and tasty! Part of my Veganuary Series.
Does anyone else struggle with lunch? It’s this awkward meal in-between breakfast and dinner, and I don’t always know what to do with it. Well, if that’s ever you, check out these easy and delicious vegan lunch staple meals!
SANDWICHES
Deli Sandwiches:
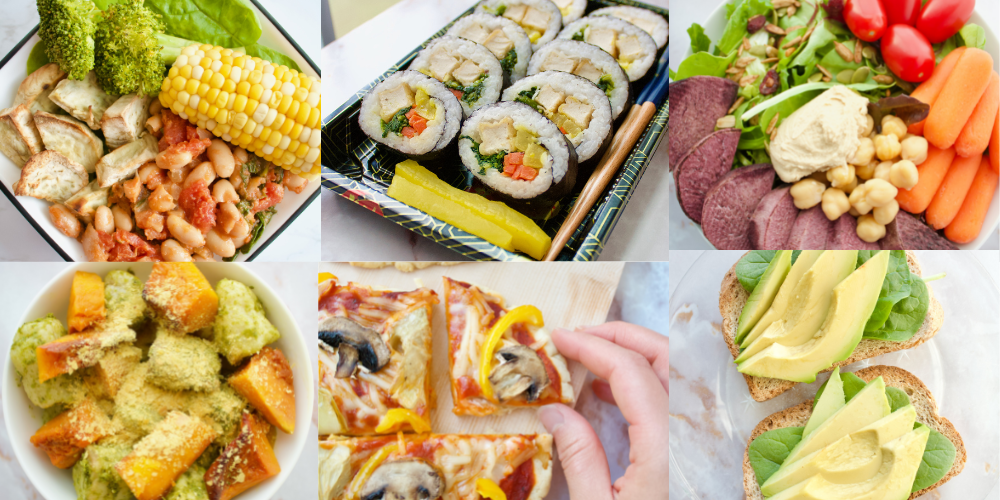
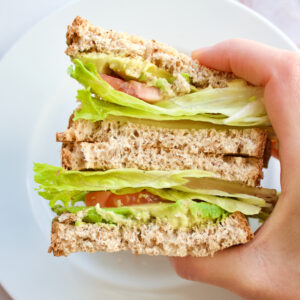
Sandwiches are one of top lunch staples – they’re so easy to throw together, and can vary in how you fill them to mix it up day by day. Here are some of my go-tos:
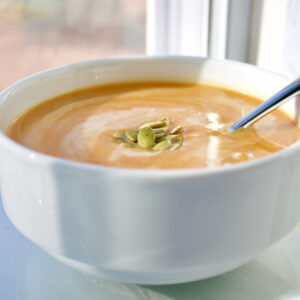
Soup and bread is a classic lunch option, especially when you want something warm and comforting. I’ll either buy cans of vegan soup from the store or make a big batch of my own. I also like to sprinkle over nutritional yeast, and have bread, cornbread, or rice cakes for dipping.
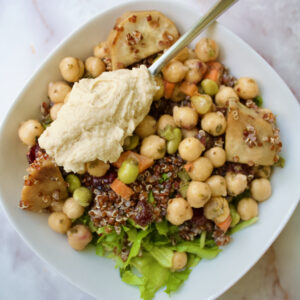
It’s important to assemble a salad bowl properly, or it can be boring and bland. Here’s my guide for putting together a simple plant-based salad bowl, that’s full of variety, flavour, and nutrition:
I love eating my way through a big bowl of vegetables for lunch. I like to pick up pre-made chickpea salad from the store, or roast chickpeas in the oven with some paprika to top a salad bowl with a variety of veggies and hummus.
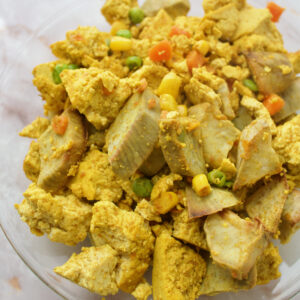
Sweet Potato Bowl:
Potatoes, falafels and nuggets are a filling and tasty lunch option that go so well with hummus, and they don’t take too much time to prep either! Add loads of veggies and salad leaves and you have a vibrant salad bowl to dig into!
Pizza for lunch really is an extra treat. I think homemade pizza is best fresh, but leftovers are still yum, or you could use your lunch hour to get in a bit of foodie fun and whip up a pizza on the spot!
Homemade Vegan Sushi/Gimbap:
Lately I’ve been obsessed with gimbap, and it’s such a great lunch option for whenever I’ve made a batch.
Vegan Pesto Gnocchi:
This one’s such a fun way to mix things up. I just bake up a bag of cauliflower gnocchi (love the one from TJ’s), add vegan pesto, some roasted veggies (like butternut squash), and top with allll the notch.
BREAKFAST FOR LUNCH
Breakfast is definitely good enough to have multiple times per day. I love to have a sweet bowl for breakfast and a savoury option for second breakfast lunch =P
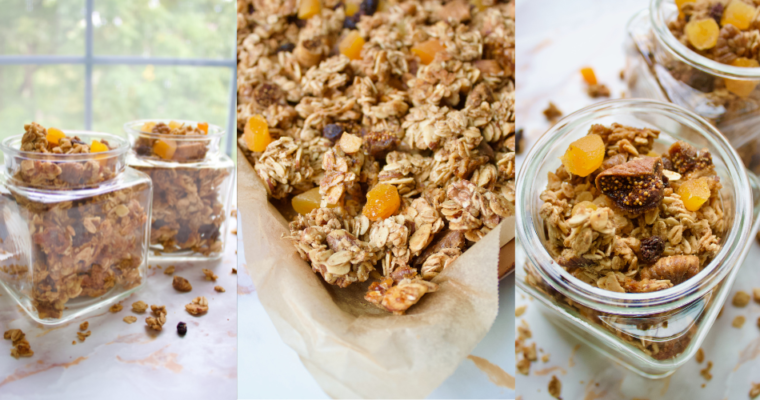
A super quick and easy recipe for homemade maple granola, bringing all of the smells and flavors of autumn into the kitchen. Autumn Vibes Autumn is my favorite time of the year. So granola that is full of fall flavors, and takes hardly any time …