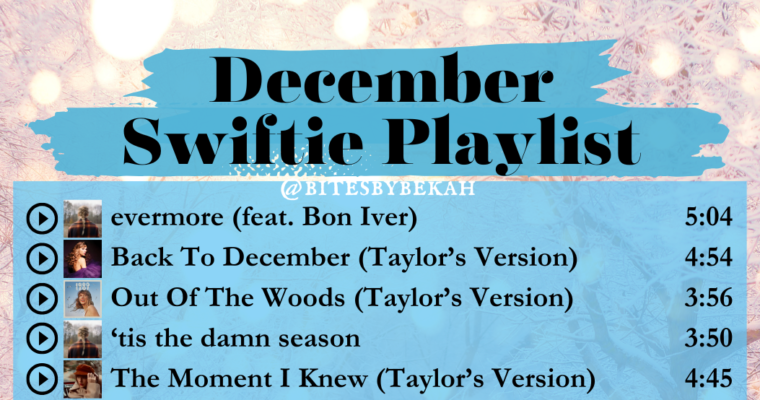
New Taylor Swift-Inspired Playlists for the New Year! New Year, New Playlists! Last year, I had so much fun curating monthly Swiftie playlists, each designed to capture the season and mood of the moment. If you missed any, don’t worry—you can still check them out here. …
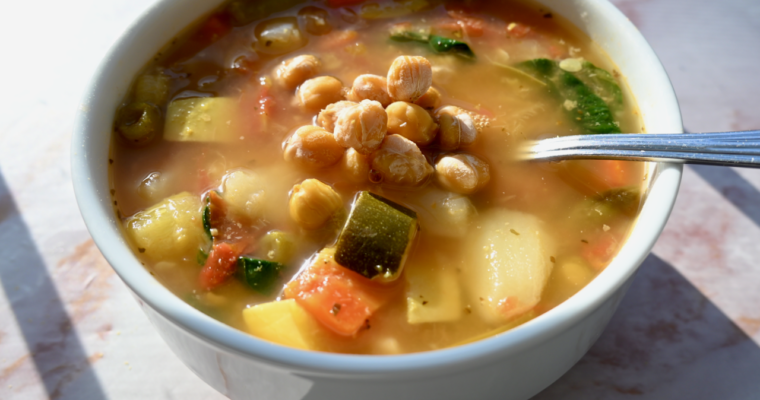
A simple, warming and nourishing vegan minestrone soup, perfect comfort food for a rainy day. There’s something about rainy days that always have me craving soup. And April tends to bring a whole lot of rainy days. If you’re anything like me, you’re leaning fully …
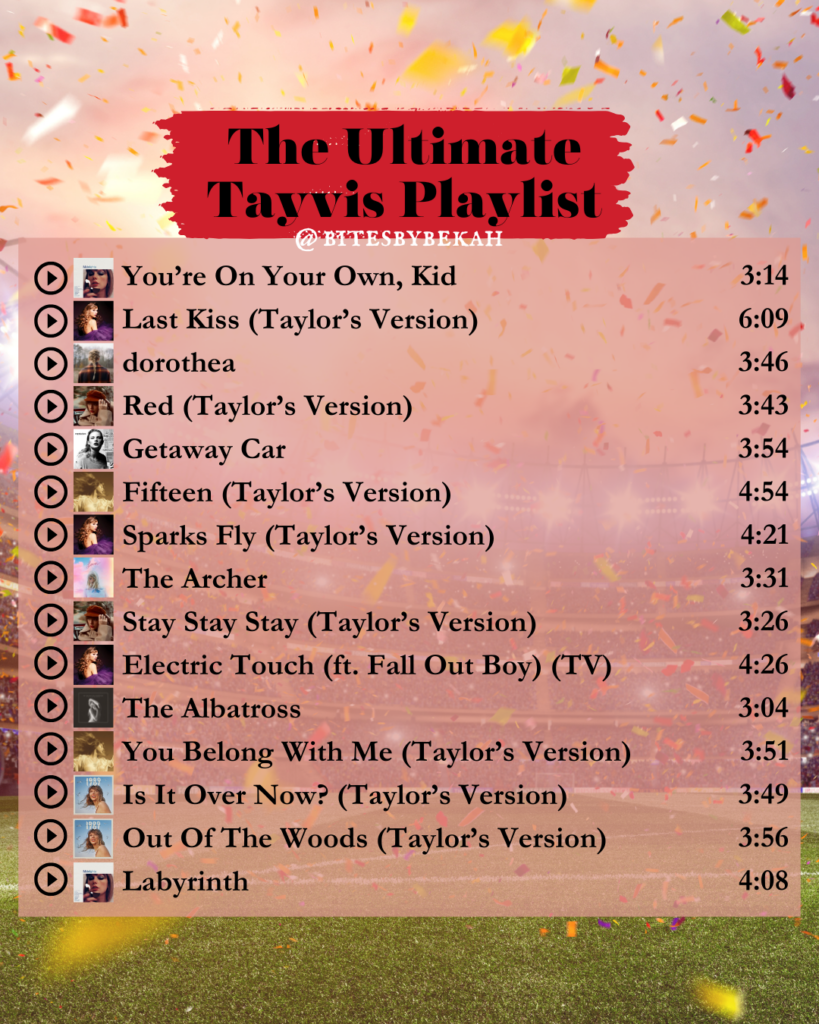
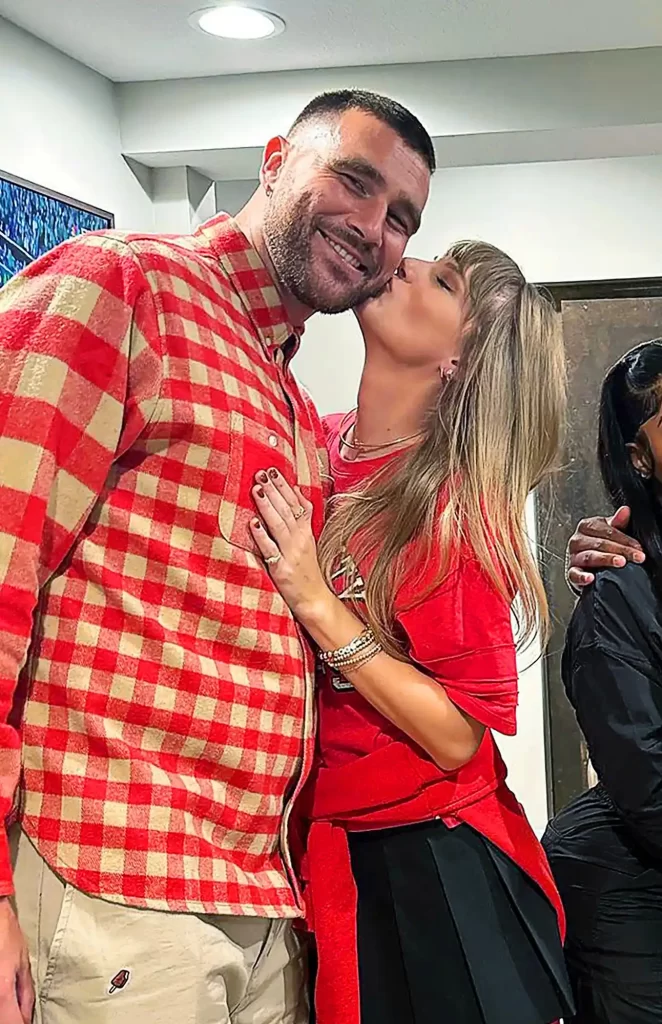
A Tayvis playlist taking you from friendship bracelet beginnings, through “Karma is the guy on the Chiefs”, and to “I’ll be eighty-seven, you’ll be eighty-nine, I’ll still look at you like the stars that shine” 🤩
I shared my first Tayvis Playlist for Super Bowl LVIII. The playlist has gone through a few variations since then, and I’m excited to share with you my most updated version! These are all of the songs I’ve come to associate with Taylor and Travis’ “Love Story”. I always put a lot of time and thought into the songs that go on my playlists, and the order. This playlist is no exception! Like I did for my Super Bowl LVI Playlist, I’ve included a walkthrough of this Tayvis Playlist below, sharing why each song made it on the list. Then I have playlist links for Spotify, Apple Music, Amazon Music and YouTube. So you can listen wherever you prefer – enjoy!
A WALKTHROUGH MY TAYVIS PLAYLIST
You’re On Your Own, Kid – it all started with a friendship bracelet! Travis went to see Taylor Swift perform the Eras Tour in Kansas City. After the show, he told his brother Jason on his podcast that he wanted to give Taylor a friendship bracelet with his number on it – you know which number 😉
Last Kiss and dorothea – these were Travis’ first two surprise songs for when he attended Kansas City N2. This was the night that Taylor kept forgetting the lyrics to “Last Kiss” and she was so adorable about it!
Red – The Chiefs’ colors are red and gold! ❤️💛
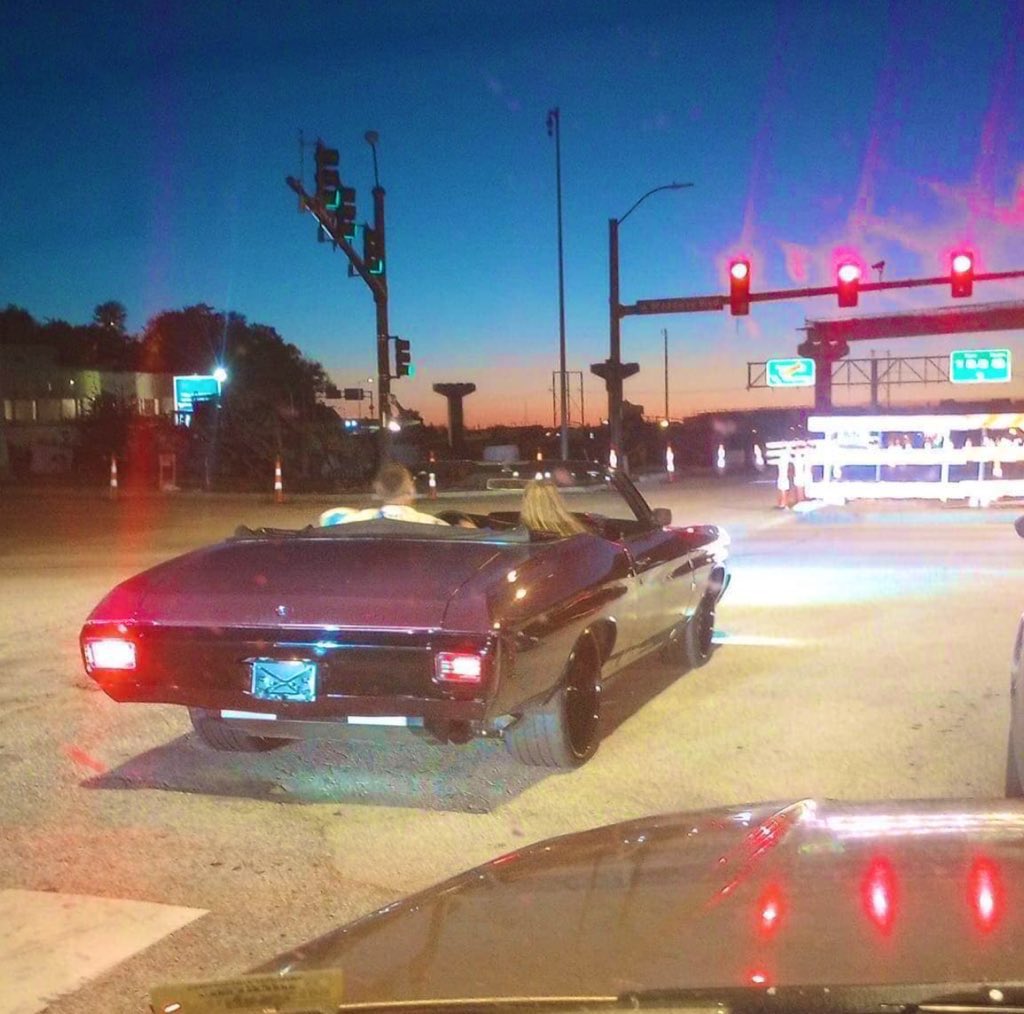
Getaway Car – On September 24th, 2023, Taylor attended a Chiefs game to support Travis for the first time! The NFL (and loads of us Swifties) were freaking out. After the game, Taylor and Travis were spotted in his (getaway) car!
Fifteen – “Well, in your life you’ll do things greater than dating the boy on the football team.”
Sparks Fly – I haven’t included every single surprise song that Travis heard in all of the Eras Tour shows he attended, but a lot of them did make this playlist! Taylor put so much thought into what songs she sang for each city and each show, so I can’t help but think that when she knew Travis was in audience she might’ve selected some songs especially for him. She sang “Sparks Fly” as a surprise song in Singapore (in a mashup with gold rush), and I thought it fit this playlist perfectly.
The Archer – Travis’ signature move is shooting an arrow. Taylor used the move a lot herself during “So High School” on the Eras Tour. (As well as during “The Archer” itself when it was on the setlist!).
Stay Stay Stay – “That’s when you came in wearing a football helmet”
Electric Touch – One of Travis’ favorite catchphrases is to say that something was “electric” ⚡️
The Albatross – “They tried to warn him about her” Some speculate that Taylor wrote this song to be a lyrical warning from the public to the men that she dates.
You Belong With Me (Taylor’s Version) – The music video shows Taylor as a clarinetist in the marching band, and her love interest as a star football player!
Is It Over Now? x Out Of The Woods – The first mashup Taylor ever performed was for the first Eras Tour show that Travis attended as Taylor’s boyfriend – Buenos Aires N2! She did the epic combination of Is It Over Now with Out Of The Woods and blew all of our minds.
Labyrinth – Travis wasn’t actually at the first show where Taylor performed Labyrinth – Buenos Aires N1. But it was the night before he arrived, and so many of us were thinking it was a message from Taylor that she was “falling in love” 🥰 She also posted a clip of the performance to her Instagram.
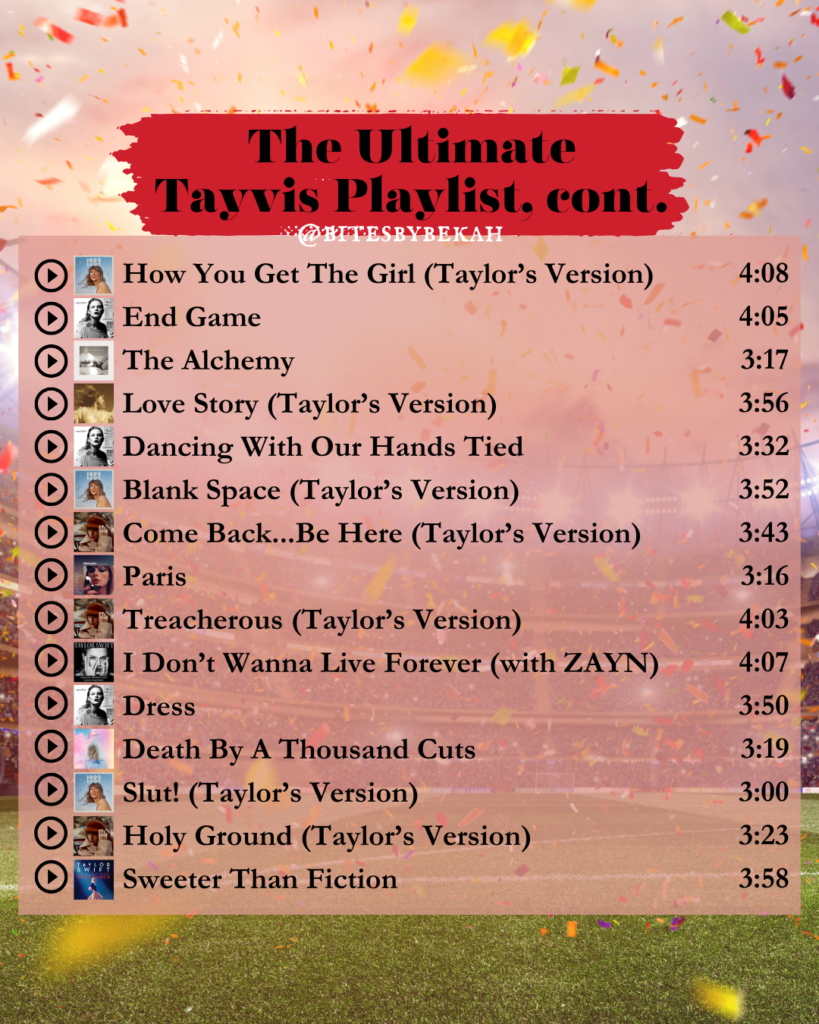
How You Get The Girl – Travis’ first Eras Tour show of 2024 had this as its first surprise song – Sydney N1! I also always think of this moment between Taylor and Travis after a Cheifs game whenever I hear the lyric “of pictures in frames and kisses on cheeks”.
End Game – Taylor also sang End Game at that same Buenos Aires N2 show with Travis in attendance.
The Alchemy – “Where’s the trophy, he just comes running over to me“
Love Story – On my previous Tayvis playlist I had multiple people comment that Love Story needed to be added!
Dancing With Our Hands Tied – Although Taylor wrote this song in a different relationship, I feel like the sentiments apply to this relationship as well. It’s not easy to have a relationship while in the public eye, and arguably Taylor and Travis have been much more open about their relationship than Taylor has been in the past. Taylor also performed it in a mashup with “The Albatross” for Dublin N2, which (in my mind) further sets it in this playlist.
Come Back…Be Here – Travis was at all three of Taylor’s London shows in June 2024. For London N1 Taylor sang an incredible triple mashup (of “The Black Dog” x “Come Back Be Here” x “Maroon”), and the London reference in “Come Back…Back Here” made me include it in this playlist. I also feel like having a relationship between two busy people who are traveling (Taylor for her Eras Tour shows, Travis for his games) would make the sentiments of this song very relatable.
Paris – Continuing with the international vibes, Travis was also at Paris N4, for Taylor’s opening shows of the European Eras Tour leg.
Treacherous – Taylor performed a mashup of “Treacherous” with “The Alchemy” for Paris N4, with Travis in attendance.
I Don’t Wanna Live Forever x Dress – Remember the random time that Taylor Nation started a livestream of Taylor’s surprise song set? It was for Singapore N1’s piano mashup (my caption for this post lol), when Taylor did this mashup of I Don’t Wanna Live Forever with Dress. I still don’t know what was up with that. But I remember people speculating that Taylor requested the livestream for Travis, and ever since I’ve associated this mashup with Tayvis 😋
Holy Ground x Sweeter Than Fiction – For Amsterdam N3’s guitar mashups Taylor did this adorable mashup, with Travis in the audience!
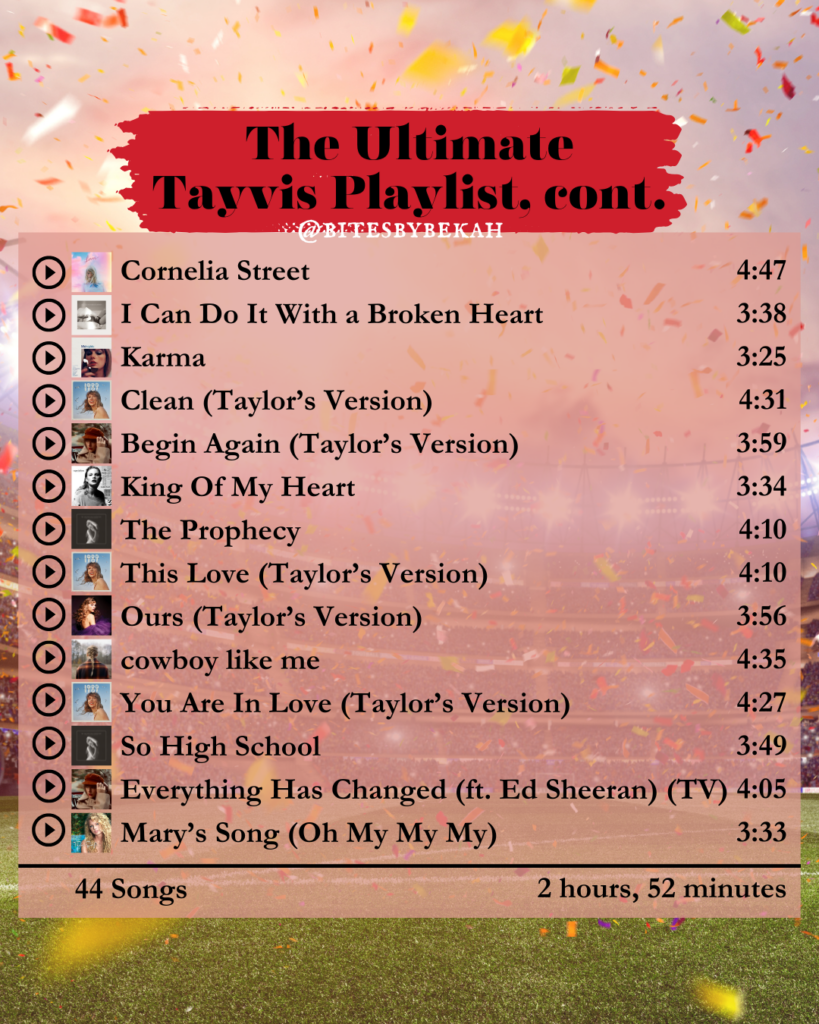
Cornelia Street – “As if the street lights pointed in an arrowhead leading us home.” Arrowhead Stadium is the Chiefs’ stadium! 🏟️
I Can Do It With a Broken Heart – For London N3 Travis made Eras Tour history by becoming the most shocking and epic guest. I’ll never forget the pandemonium that erupted when Travis rose up out of the stage with Kam and Jan for the interlude between “The Smallest Man Who Ever Lived” and “I Can Do It With A Broken Heart.” He carried her prone form over to the red sofa, helped touchup her mashup – literally adding color back to her face”, and jauntily took on his cameo role on stage.
Karma – “Karma is the guy on the CHIEFS”. At Travis’ first show after they started Dating (Buenos Aires N2), Taylor introduced a new ending to the Eras Tour, changing the lyrics of “Karma” from “Karma is the guy on the screen”, to “Karma is the guy on the Chiefs.” It became a beloved tradition, and Taylor changed the lyrics every time Travis was in the audience, as well as a couple of additional shows to celebrate Travis’ team the Chiefs pulling off a big win.
Clean – Taylor performed Clean in a triple mashup to finish off her June London shows (London N3), with Travis in the audience.
Begin Again – Taylor performed “Begin Again” for Paris N4, with Travis in the house.
King Of My Heart – For London N4 Taylor did a piano mashup of The Alchemy with King Of My Heart, and the combination just seemed too good to ignore. This was one of my shows(!), and I remember thinking at the end of the surprise song set that the mashups that night had been soo Tayvis coded 🥰
The Prophecyx This Love – “𝘛𝘩𝘦𝘴𝘦 𝘩𝘢𝘯𝘥𝘴 𝘩𝘢𝘥 𝘵𝘰 𝘭𝘦𝘵 𝘪𝘵 𝘨𝘰 𝘧𝘳𝘦𝘦, 𝘢𝘯𝘥 𝘤𝘩𝘢𝘯𝘨𝘦 𝘵𝘩𝘦 𝘱𝘳𝘰𝘱𝘩𝘦𝘤𝘺” Taylor did a mashup of “The Prophecy” with “This Love” for Indianapolis N2 and the way she combined these lyrics from both songs still gives me chills. This was also Travis’ last Eras Tour show that he attended in person!
This Love x Ours – For Dublin N2 Taylor performed this super sweet mashup, and while Travis wasn’t there, he did make it to Dublin N3! So maybe he was extra on her mind that night?
You Are In Love – Taylor sang this in a mashup with “cowboy like me” for Amsterdam N2.
So High School – “You know how to ball, I know Aristotle”
Everything Has Changed – For Amsterdam N3 Taylor performed the most Tayvis mashup of all mashups (I’m still crying over the combo of Mary’s Song with So High School and Everything Has Changed 😭).
Mary’s Song (Oh My My My) – “And I’ll be eighty-seven, you’ll be eighty-nine, I’ll still look at you like the stars that shine”
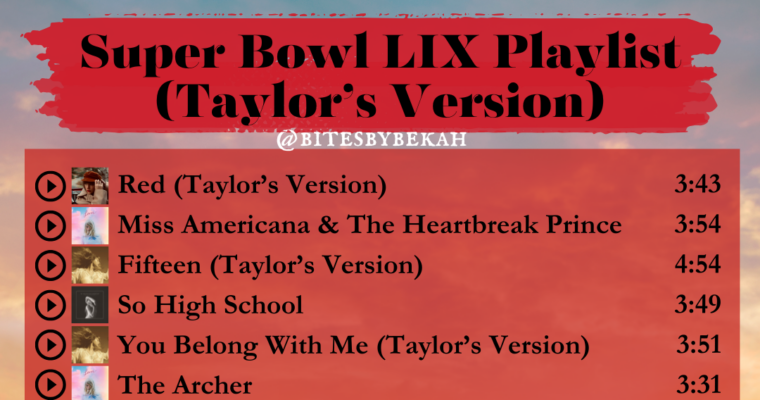
A playlist to hype you up for 2025’s Super Bowl! Whether you’re wearing “Red” or an “eagles t-shirt”, this Super Bowl playlist takes you through all of Taylor’s football game references. Super Bowl Sunday is almost here! So of course I had to celebrate the …
Welcome to my Seasonal Swiftie Playlists page, your year-round destination for Taylor Swift-inspired playlists tailored to every season! From the cozy depths of winter to the vibrant blooms of spring, the warmth of summer, and the colors of autumn, I’ve curated each playlist to capture the essence …
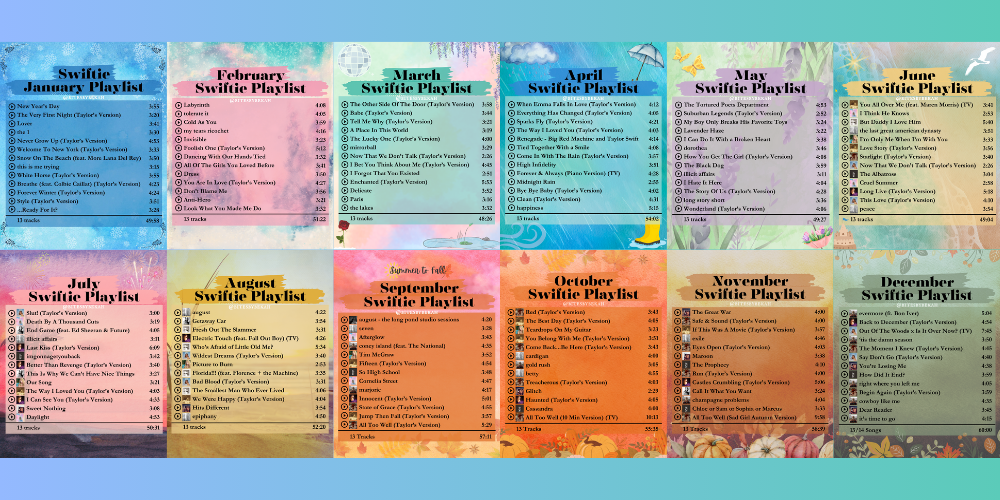
12 Taylor Swift-inspired monthly playlists that made up our soundtrack of 2024.
Looking for the ultimate Taylor Swift-inspired playlists to relive the magic of 2024? This year, I curated 12 unique monthly playlists tailored to the seasons, moods, and iconic moments we cherish as Swifties. From cozy winter anthems to summer hits, each playlist captures the essence of every month through Taylor’s music.
I compiled all of these monthly playlists into “The 2024 Swiftie Soundtrack” – one playlist to capture our year. I’ve included links to it, along with all 12 individual monthly playlists, so you can give any of them a listen anytime!
The 2024 Swiftie Soundtrack
This playlist includes all 12 months of my 2024 Swiftie Playlists – 158 tracks! You can listen to it on Spotify and Apple Music, with clean versions on Spotify and Apple Music. I haven’t created this one on Amazon Music or YouTube Music, but if you’d like those playlists let me know and I can share those as well.
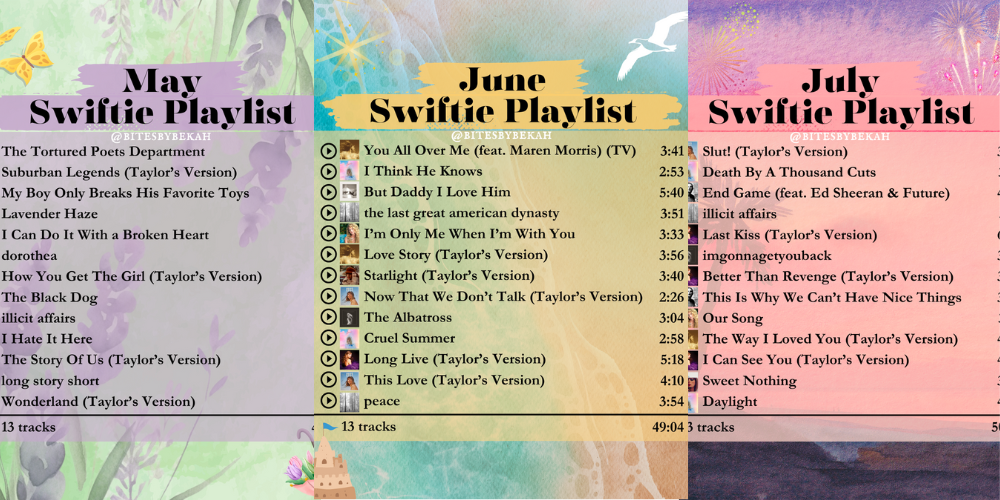
I curated my July Swiftie Playlist to take you on a journey through the month of July. Each song hits on different elements and aspects of summertime, to get you in the summer mood! You can listen to it on Spotify, Apple Music, Amazon Music, and YouTube (no clean versions were needed this month).
I hope these Taylor Swift-inspired playlists bring joy to your ears, no matter when you’re listening to them. I’m excited to continue sharing lots more Swiftie playlists in 2025, so stay tuned for those!
Two Taylor Swift-themed Christmas playlists to play all holiday season. Looking for the perfect soundtrack to accompany your holiday festivities? I’ve got you covered with two specially curated Christmas playlists perfect for Swifties. I’ll share links below, to listen to them on your favorite streaming …
Easy vegan key lime pies requiring just 9 simple ingredients – perfect for creating ‘The Last Great American Dynasty’ vibes (iykyk) The Last Great American Dynasty I can so clearly remember listening to Folklore for the very first time. Do you remember that surprise drop?! …
Links to every single Taylor Swift playlist I’ve curated and shared on social media – happy listening!
I *love* making Taylor Swift-themed playlists – I post at least one every month (often more), curating playlists for every month, season and more. Let me know if you’d like to find these playlists on any other platforms (I recently have started making YouTube and Amazon playlists after some of you asked for them!), and what themed playlists you’d like to see/listen to in the future.
A playlist to take you through the month of November, from planting a memory garden for Remembrance Day, to ‘November flush’ in ‘late November’, and of course ending with the classic but the Sad Girl Autumn Version. I hope this playlist gives you all the November feels 🍂
All the fall feels to get you into Swiftie Season 🍁 Celebrate the leaves changing to red and gold, pulling out your cardigan, getting into spooky season and more with my October Swiftie playlist!
A playlist to help you transition from summer to fall 🌞🍁 From august slipping away into a moment of time, to it getting “colder and colder when the sun goes down”; to the first day of school, “new Septembers” and jumping and falling into autumn with a classic we know “All Too Well” – I hope you enjoy this one!
You can listen to my September Swiftie Playlist on Spotify, Apple Music, Amazon Music, and YouTube. There’s no separate clean version this month cause this month it wasn’t needed!
“Get in the car it’s august”! And while you’re there, why not put on my August Swiftie Playlist? I curated this playlist to take you through summer in August – from “salt air” to “rolling thunder” ⚡️, beating the heat to burning hearts 🔥, and ending with dreaming of some epiphany ✨
A playlist to take you through summer in July – from a “moonlit swimming pool” to 4th of July parties, July 9th’s “Last Kiss” to summer revenge, roller coaster heat and fire to sweeter softnesss, and ending with golden “Daylight” 🌞
You can listen to my July Swiftie Playlist on Spotify, Apple Music, Amazon Music, and YouTube. There’s no separate clean versions because it just so happened they weren’t needed for this playlist.
Following on from April’s, my May Swiftie Playlist revolves around what comes after the rain – sinking into a lavender haze, doing what you have to do with a broken heart, thinking about them, finding escapism, or any number of other iterations.
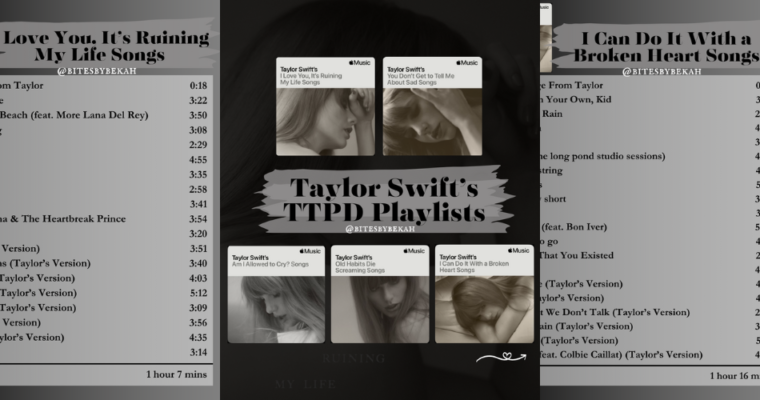
On April 5, 2024, Taylor Swift shared 5 playlists taking listeners through the 5 stages of heartbreak, helping us prep for TTPD. You can listen to those playlists on Apple Music, and I also created them on Spotify for anyone who prefers to listen there (linked below). For all the links, plus quotes of Taylor’s voice messages for each playlist you can check out this blog post!
A playlist exploring rainy days to take you through the month of April ☔️ From the passion and romance of meeting in the pouring rain, to the storms of life, to washing things Clean to end with that glorious sunrise 🌅
A playlist bringing you out of winter into spring ❄️🌸 From the breakdown of a relationship, into the delicate stages of new found love, plus some lucky references in-between 🍀
A playlist celebrating Taylor and Travis, just in time for Super Bowl LVIII 🏈 These are all of the songs I’ve come to associate with their “love story”, from where it all began with a friendship bracelet, to “Karma is the guy on the Chiefs”!
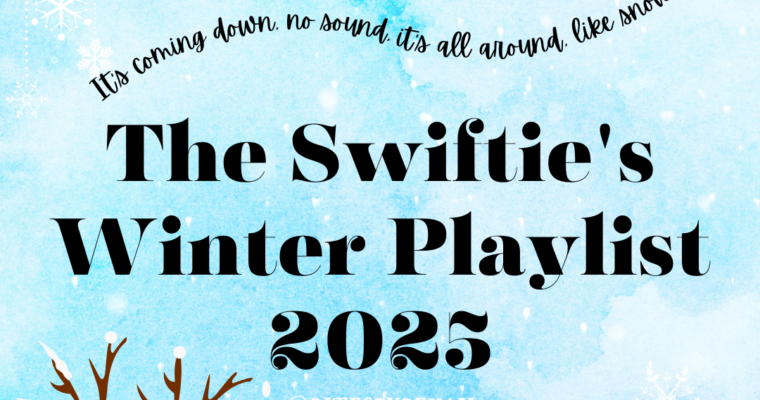
My Compete Swiftie Winter Playlist, without the Christmas songs – just in case you want that option 🩵 Curated to be listened to all the way through, or in small sections (each page is a mini playlist) – feel free to also stick it on shuffle.
Every Taylor Swift song (as of Jan 2024) that mentions an age! You can check out my Instagram post to see all the songs organized by age, from 3 years old to 89. Save for future Swiftie birthdays! 🥳
A playlist of new beginnings to start the new year: taking you from New Year’s Day, through The Very First Night, Christmas lights up in January, and more.
Your complete collection of Swiftie Winter songs, taking you from December through February – and/or through a winter season of life as well. The playlist is curated to be listened to all the way through, or in small sections (each page is a mini playlist) – but feel free to also stick it on shuffle. Happy listening!
I also created Clean versions of the playlist (on Spotify, Apple Music and Amazon), using clean versions of any songs with an explicit rating – there’s not a lot of them, but 8 out of the 70 on the playlist have some language. So just in case there’s anyone with little Swifties around or who just prefer those versions, I wanted to make it available.
The Eras Tour Movie Extended Version Setlist – including 3 extra songs not in the Eras Tour Movie! Perfect for prepping if you’re going to rent and watch at home.
Your complete collection of Swiftie Autumnal songs, taking you from the first day of fall (September 23) to the last day of the season (December 20). Feel free to listen in small sections, on shuffle, or all the way through!
Links to all 5 of Taylor Swift’s TTPD Playlists – on Spotify, YouTube and Amazon Music – taking listeners through the 5 Stages of Heartbreak It’s a fortnight before The Tortured Poets Department release on April 19th, and of course Taylor Swift marked the occasion …
It wasn’t this blog, this blog just launched today! But it was a blog and I had high hopes for it. At the time I was embarking on one of the greatest adventures of my life – I had taken my first international flight moving to another country where I would finally get to explore the wider world (and hopefully pick up a British accent) whilst living in London, UK. It was all incredibly exciting and I wanted to document everything – mostly for myself, but also for family and friends back home. I actually just had a cheeky look back at that blog and it was so fun to walk down memory lane, so I suppose it served its purpose a little bit.
As I’m sure you’ve gathered, that blog never really got off the ground. It had a few sputtering starts and restarts. I put up posts every now and then. And (to my credit) I uploaded loads of photos somewhat regularly because I’m a bit of a photographing fiend – have you seen my Instagram stories? However, exciting things just kept happening too fast (don’t you just hate it when that happens?), and a blog became too much for me to keep up with. I wonder if any of you can relate, and have your own lost blogs that live somewhere forgotten on the Internet, or in the files on your laptop?
Why did my first blog (essentially) die?
I’ve thought quite a bit about why this happened, especially as I’ve been working on this new blog – and how long it’s taken to get off the ground. Mainly I think I got swamped with the amount of stuff I felt I had to do – the hundreds, which quickly became thousands of photos to sort through and edit (my photographing strategy has always been to take loads of photos and hope that some turn out halfway decent – usually it works, but it requires so much time to wade through). And then there was all of the writing, proofreading, formatting, and as experiences piled up it began to feel like too much to keep up with.
All of this, combined with my indecision and perfectionism, resulted in a false start. I felt like I couldn’t craft blog posts that I deemed worthy of publishing. I don’t know why I felt so much pressure given that my readers were family and a few close friends who I knew wouldn’t have judged my posts (too harshly at least). But I’ve always felt a strong degree of (self-imposed) pressure to produce things to a certain standard, and in my head I couldn’t meet the bar.
That same perfectionism and pressure has played a big part in keeping me from starting this blog.
You may (or may not) be surprised to hear that I’d been thinking about starting a food blog for over a year now, with the original intention to launch at the beginning of the new year – yes this year, 2018. I know, I know, it’s August…so you can see how that went!
Side note for my Instagram peeps who have followed along with the whole slight saga – thanks for sticking with me! Can you believe it’s finally happening?? I hardly can, it’s really been a long time coming.
What were some of the hurdles to overcome to reach this launching point?
I think the main thing was that I had thought the content I was sharing, and even myself as a person, needed to be at a certain point before I could start – that I had to be super healthy and fit, a whiz in the kitchen, and an organised writer who had something polished to share with the world. Over time, as I’ve struggled with balancing studies and life and Instagram, dealt with some health issues, and felt further and further from that ‘ready version’ I thought I needed to be, I kept pushing blogging further and further away. It’s been a slow and gradual process, but I’ve come to realise that I’ll never reach that polished level of expertise I’m aiming for. And now I genuinely think a lot of the value of this community and sharing a blog is to bring you along for the ride and show you the journey along the way.
This blog might (definitely) be messy.
It will likely not be as organised or as professional as I want – especially when I look at how many incredible and beautiful blogs there are out there. I have to face the realities that I am at a different stage in my health journey, my blogging journey (hello beginnings!), and in my life as a full-time doctoral student also trying to live in an expensive city abroad.
But I’ve also recognised that I don’t have to be the end product right now.
And I hope that by bringing you into my life at this moment, as I’m still working on balance and health and life, that you can find some value, inspiration, encouragement or comfort from any of it.
I suppose that’s the aim of this ‘Blogging’ category of Bites by Bekah.
I want to share the process of launching and growing this little corner of the Internet. And I guess this is a space for me to muse about what that process is like. I hope it might be interesting. I hope even more so that it might be helpful. I’m not entirely sure what this series will look like, but at the moment I envision it being a place to share helpful tips and tricks that I learn and implement along my blogging journey.
So, this is the beginning of my blogging journey. Where are you on yours? Have you started a blog? Or ever wanted to? I’d love to hear any stories you might want to share (and how long it took/is taking you to launch yours? =P)