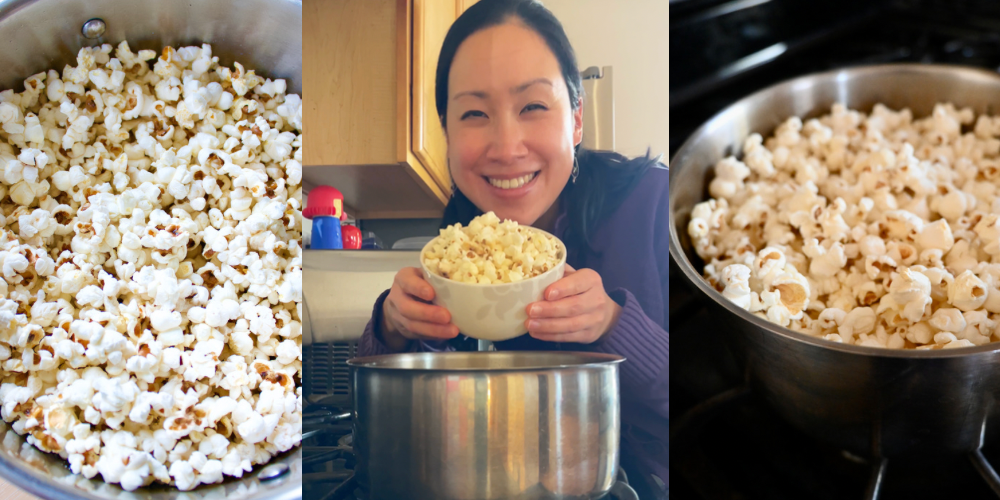
How to Make Healthy Homemade Popcorn

How I make healthy homemade popcorn – including my top tips and how to avoid burnt popcorn. It’s really not as hard as you might think!
It’s Friday night, and you’re sitting down after a long busy week to relax with a movie and…what? What would complete this picture for you? Cause for me, it’d definitely be a bowl of healthy homemade popcorn.
Making Healthier Homemade Popcorn
Once you start making your own popcorn, you won’t go back. At least, I haven’t yet! It really is a game changer. There’s a number of reasons why it’s worth it to make your own popcorn at home – here are 3:
1. It’s Healthier
Making your own popcorn allows you so much more control over what you put on it. You can limit the amount of oil and salt, and even switch up the flavors with other toppings (like nutritional yeast or something sweet if that’s what you fancy). You also avoid any chemicals (like PFAS!) that can line the bags of microwavable popcorn. Double win!
2. It’s Cheaper
Popcorn kernels are super affordable, and last for ages in the pantry. Buy in bulk for even more of a bargain.
3. It’s More Fun!
I suppose this one’s a matter of opinion, but I really think it is!
Making Homemade Popcorn
So now that I’ve convinced you to try making your own batch of healthy homemade popcorn, what’s next? Here’s all you need to get going:
- Popcorn kernals (I like Orville’s)
- Oil (I use Olive Oil)
- Salt
- A pot and lid
- 10mins or so
How far in advance can you make popcorn?
I think homemade popcorn is best fresh. But, you can still enjoy it even a day later (our batches have never lasted any longer than that). Just store the leftover popcorn in an airtight container or a ziplock bag.
Three Top Tips for the Perfect Batch of Popcorn
- Test the heat of the oil and pot by adding just two kernels first. Once those pop you’ll know the pot is ready and you can add the rest of the kernels.
- Once you’ve added those kernels, immediately pick up the pot (use oven mitts!) and hold it over the heat for 20-30 seconds. I like to swish the pot back and forth andimagine the kernels all getting coated with the oil. This
- Once the kernals are popping and the pot is about 1/3-1/2 way full, tip the lid so that there’s a bit of an opening for steam to escape. This helps your popcorn dry out and not get soggy
How do I avoid burning my popcorn?
This is the question I get asked the most whenever I post an Instagram story about making homemade popcorn. I have definitely burnt my share of batches. However, if you burn one or five, don’t give up! It takes some time to get into the popcorn making rhythm, and even when you think you’ve cracked the code, burnt popcorn can still happen.
The more you practice, the better you’ll get a feel for it and be able to troubleshoot given you own particular circumstances and equipment (temp of the flames/burner, size of pot, etc). Here are some tips I’ve picked up along the way. I hope they can help you avoid burning your popcorn too!
- Use a large and tall pot. I find a taller pot, as opposed to a wide one, helps the popcorn rise with less time on the bottom of the pot.
- Don’t skimp on the oil.
- Wash the pot thoroughly before making another batch. If there’s anything left, kernels on the bottom can more easily burn.
- Try to find a happy heat temperature. Our stove burners go up to 6, so I usually start out 6 to heat up the pot, and then turn it down to 5 right after adding the oil. Popcorn seems to pop best for me around the 5 mark, but occasionally I’ll move it to 4.5.
Healthy Homemade Popcorn
Ingredients
- 2 tbsp olive oil
- 1/2 cup popcorn kernels (plus 2 to test)
- Salt
Instructions
-
Heat up your pot on the stove for a minute or two on medium high heat.
-
Add 2 tbsp olive oil.
-
Take 2 popcorn kernels and add them to the pot for a kernel test. Once those two pop, you know the pot is hot enough to best pop your popcorn!
-
Add 1/2 cup popcorn kernels. Then immediately (using oven mitts) pick up the pot and hold it just above the fire/heat for 20-30seconds (I just could to 30 in my head). I also swish the pot back and forth during this time. When you put the pot back down, the temp should be ideal to start popping right away.
-
Let the popcorn pop! When the pot is about 1/2 full, tilt the lid just slightly – enough to let out steam, but not enough to let out popcorn!
-
When the popping slows down significantly, turn off the heat and remove the lid (carefully, as there may be some stray pops.
-
Season with your desired amount of salt, and/or any other toppings you fancy and enjoy!
That’s it! It may seem like a lot of effort, when you could just throw a packed into the microwave and be done with it. But honestly, give it a go and I bet you’ll find it’s not as bad as you thought. Plus, practice makes perfect, which sounds like a pretty good excuse to indulge in lots of popcorn batches as you’re ‘practicing’ to me.
If you want to see the popcorn popping in action, check out this short recipe reel on Instagram!
